

Desktop fabrication machines hide three of the hardest loads a compact power supply will ever meet: a resistive heated bed that pulls close to its full rating for an hour at a time, stepper drives that push energy back onto the DC rail when they decelerate, and laser or pump stages that switch in milliseconds. Sizing an enclosed switching power supply for a 3D printer, CNC router or laser cutter therefore has less to do with the nameplate wattage printed on the box and more to do with duty cycle, inrush and wiring. Get those three right and a standard enclosed SMPS will run a machine reliably for years.
Most sizing mistakes come from adding up the average currents on a spec sheet. A machine that averages 180 W can still present a 400 W transient when a cold heated bed, a spindle pump and a stepper axis all start together. The supply sees that transient instantaneously, and if its overcurrent protection trips faster than the transient lasts, the machine simply will not start.
The second problem is duration. A supply rated 200 W at 25 °C ambient with free air convection may only be good for 140 W inside a sealed machine enclosure that reaches 50 °C. The load did not change; the available cooling did. Every enclosed supply ships with a load-versus-ambient derating curve, and that curve — not the number in the model name — is the number you design to.
The third problem is direction. Motor drives are not passive loads. When a stepper decelerates a heavy gantry, the drive becomes a source and pushes current back into the DC bus. Without enough bulk capacitance or a supply tolerant of reverse energy, the bus voltage climbs and the drive faults on overvoltage.
A typical 300 × 300 mm heated bed is rated around 200–350 W and runs near continuously through the first layer and often for the whole print. At 24 V that is 8–15 A on a single rail, and the element’s resistance is lower when cold, so switch-on draws more than the steady-state figure. Hotend, extruder fan and controller electronics together might add only 40–80 W.
This is why 24 V has become the default above roughly 200 W: halving the current halves the I²R losses in the cables and connectors and makes the wiring practical. Two rules follow. Size the supply from the bed current plus everything else, then add margin; and use a supply whose overcurrent behaviour is a hiccup-and-restart rather than a hard latch, so a cold-start inrush does not leave the machine dead until someone cycles the mains.
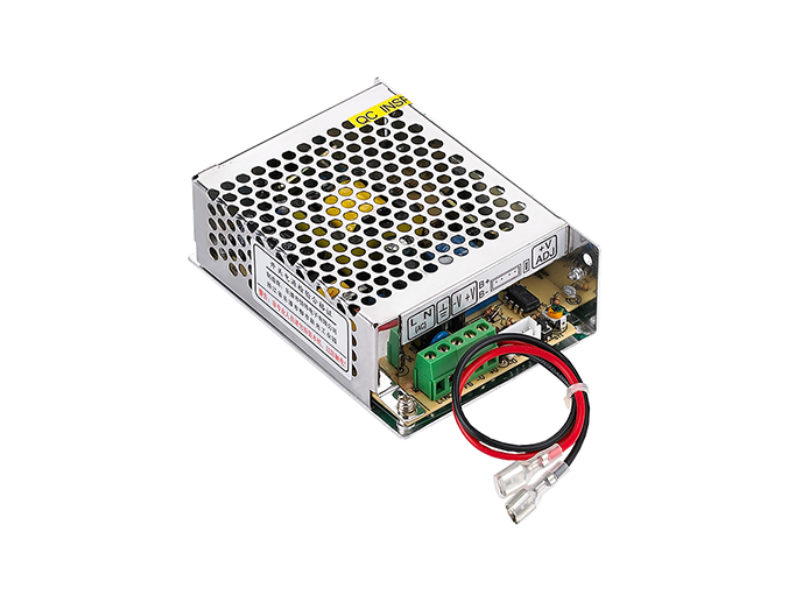
HENGWEI builds a purpose-named unit for exactly this load profile: the 3D Printing LRS ultra-thin 500 W enclosed supply. It is sized for a bed-dominated machine with the controller, hotend and fans on the same rail, and its ultra-thin profile fits the shallow base cavity most printer frames provide.
On a CNC router the spindle is usually fed from a mains VFD, not from the DC supply. The DC rail carries the stepper or servo drives, the controller board, the coolant or dust-extraction relay, and sometimes a vacuum hold-down pump. Stepper rails run at 24 V or 48 V; higher voltage gives better high-speed torque but demands a supply and drives rated for it.
The design work is in the transient. Four axes decelerating a gantry return energy to the bus at the same moment. Practical mitigations are a supply with adequate output capacitance, keeping the DC wiring short and heavy, and leaving voltage headroom below the drives’ overvoltage trip. If the machine faults only on rapid decelerations, the rail — not the motors — is usually the cause.
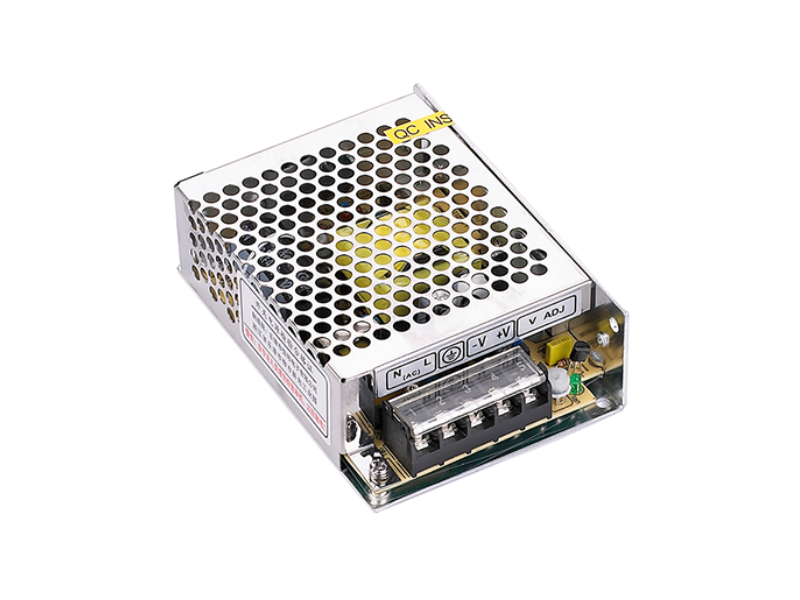
For compact machines, a NES-120W ultra-compact enclosed supply comfortably covers controller plus a small axis set; a larger router with 48 V drives and a pump belongs on a higher-power class such as the NES-250 250 W or a 500 W LRS unit.
A CO₂ laser tube runs from its own dedicated high-voltage supply — it is not on the DC rail, and confusing the two is a common and expensive mistake. What the DC supply does feed is the controller, the X/Y motion, the air-assist compressor, the extraction fan and any diode laser module.
Air assist and extraction are motor loads with genuine inrush: a small compressor can draw three to five times its running current for a few hundred milliseconds. Diode laser modules, by contrast, are steady but current-hungry at 12 V. The safe approach is to size the rail for everything running at once plus the largest single inrush, then fuse each branch so a stalled fan cannot remove the whole machine.

3D Printing LRS Ultra-thin Switch Mode Power Supply 500W ›

NES 120W Ultra-Compact Durable Enclosed Switching Power Supply ›
| Load | Rail | Current | Duty | Sizing note |
|---|---|---|---|---|
| Heated bed 300 W | 24 V | 12.5 A | Continuous during heat-up | Dominates the rail; size from this |
| Hotend 40–60 W | 24 V | 2 A | Continuous | Small but always on |
| Steppers (4 axes) | 24–48 V | 6–8 A peak | Intermittent, reverses | Add bulk capacitance |
| Controller + fans | 12/24 V | 2–3 A | Continuous | Keep logic return clean |
| Air assist / extraction | 24 V | 2–4 A | Intermittent, high inrush | Fuse separately |
| Diode laser module | 12 V | 4–10 A | Continuous while cutting | Check voltage match |
Add the continuous rows, add the largest single inrush, then apply 25–30% headroom. That final figure is the nameplate you buy.
Three things consume headroom at once. Inrush raises the instantaneous current above the steady figure. A warm enclosure lowers the supply’s continuous capability through thermal derating. And electrolytic capacitors age, so the supply that just met spec on day one has less margin in year five.
A useful habit is to pick the next size up whenever the calculated load exceeds about 70% of the rating. Moving from a 150 W LRS-150F to a 250 W or 500 W class on a bed-dominated printer costs little and removes an entire class of nuisance trips.
Ask for over-current, over-voltage, over-temperature and short-circuit protection as standard, and check how the over-current behaves. Constant-current limiting is excellent for holding a rail up through a transient; hiccup mode protects the supply but drops the output briefly. For a heated bed the preference is a generous constant-current region, because a hiccup during warm-up can reset the controller.
Input-side inrush limiting matters too: several machines on one bench circuit can trip a shared breaker on simultaneous switch-on. Finally, confirm the DC-OK or alarm contact if the machine has a supervisory controller — that single bit turns a mysterious reset into a logged event.
Q: Can one supply run the bed and the logic together?
A: Yes, provided it is rated for the sum plus headroom. Wire each branch from a single star point, fuse them separately, and keep motor returns from polluting the logic ground reference.
Q: Should I use 12 V or 24 V?
A: 24 V above roughly 200 W. It halves the current for the same power, which cuts cable losses, connector heating and voltage drop — the practical reason most bed-dominated machines moved to 24 V.
Q: Why does my supply shut down at start-up?
A: Almost always inrush: a cold heated bed, an air compressor or a pump drawing several times its running current for a few hundred milliseconds. Size up, or choose a supply with a wide constant-current region rather than immediate hiccup.
Q: Does HENGWEI make a supply specifically for 3D printers?
A: Yes — the 3D Printing LRS ultra-thin 500 W enclosed switching power supply is built for the bed-dominated load profile, alongside the NES compact enclosed family for smaller machines.


 Optimized by Seraphinite Accelerator